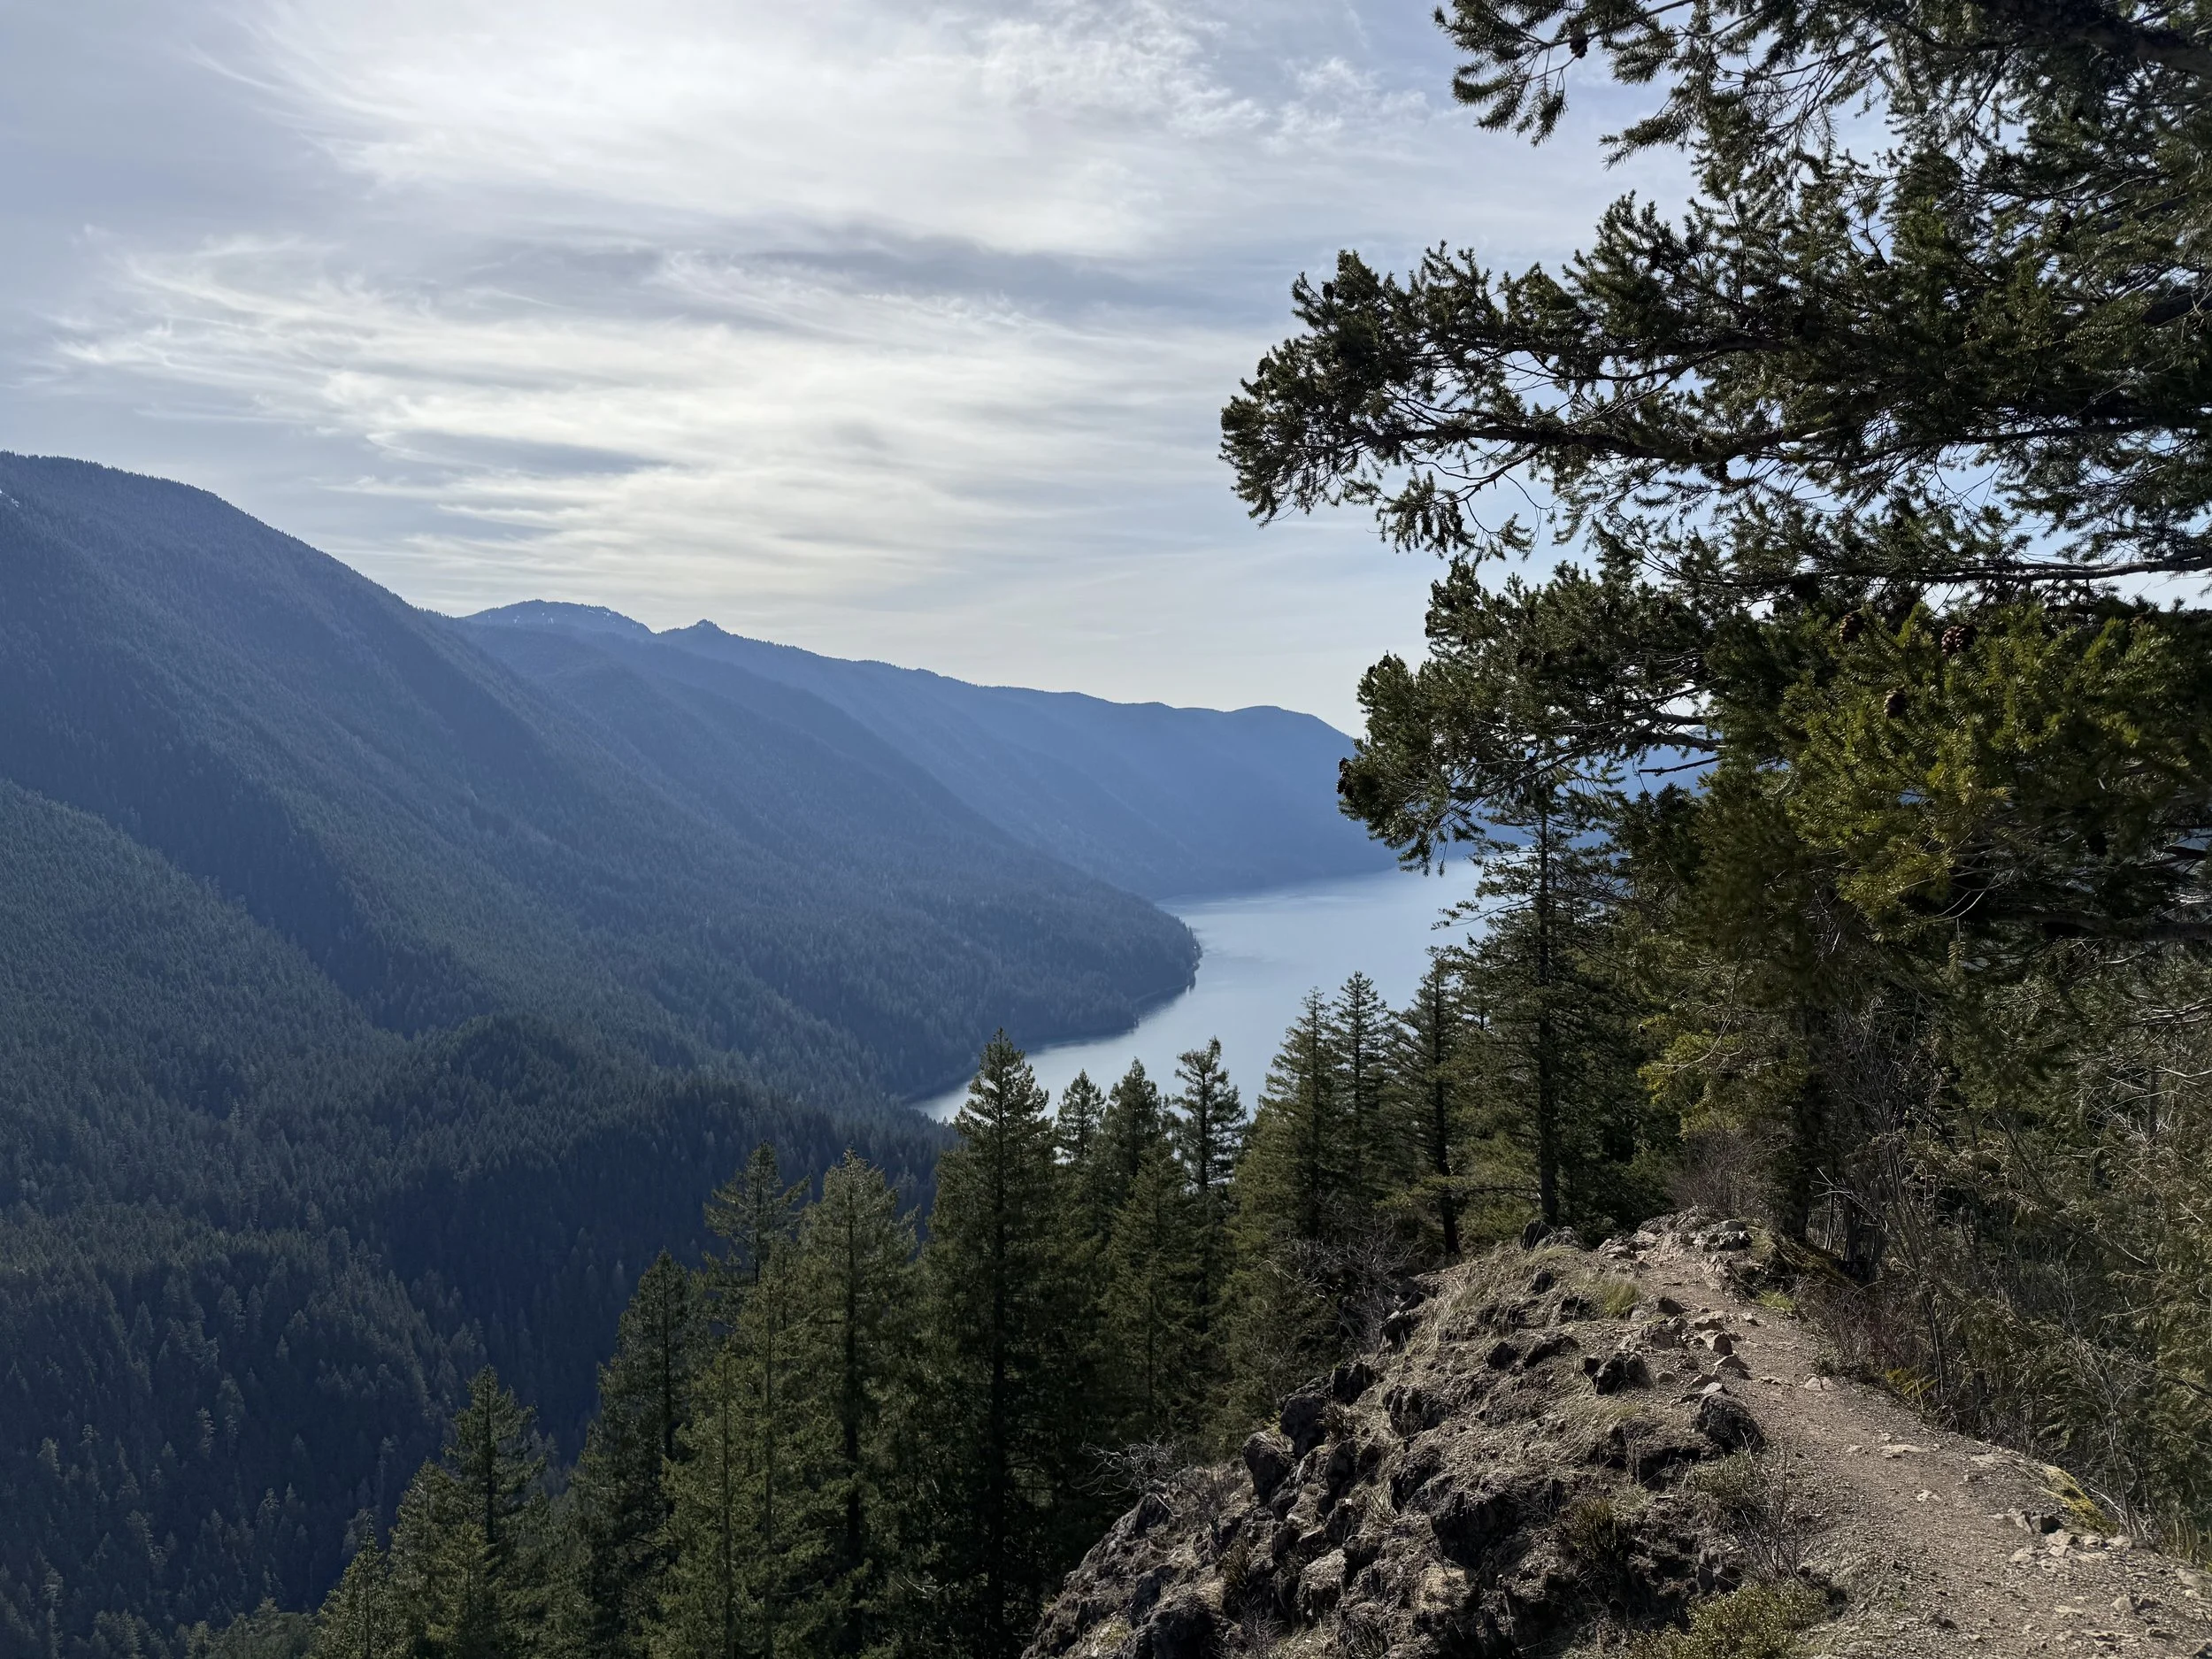
Olympic National Park
A structured, flexible plan to experience the mountains, rainforest, and coastline—without wasting time or overplanning every moment.
Quick Overview
Ideal trip length: 3-4 days
Best for: first-time visitors, small groups
Trip style: moderate activity, flexible pacing
Olympic is one of the most diverse parks, but also one of the easiest to plan poorly.
The key is not trying to do everything at once.
👉🏻 The full itinerary includes a clear daily plan, routing, and backup plans so you don’t have to figure this out on the fly.
Why Olympic is tricky
Olympic looks manageable on a map, but it’s not. The distances between regions are long, you can’t easily “pop between” areas, cell service is limited, and weather can be completely different between locations.
Most people don’t waste their trip because they picked the wrong stops—they waste it because they planned them in the wrong order.
Where you stay and how you group your days matters more than most parks.
👉🏻 Want the exact plan already mapped out?
This is a sample from the full itinerary—each day is structured like this with real-world notes and adjustments
How I structured this trip
Instead of trying to see everything in one pass, I group each day by region:
Mountains
Coast
Rainforest
👉🏻 The order and timing within each day matter more than it seems—this is one of the easiest ways to accidentally waste time in Olympic.
Who this itinerary is for
This plan is a good fit if:
You want to see the mountains, rainforest, and coastline without trying to do everything at once
You don’t want to spent your trip figuring out logistics or backtracking between areas
You prefer a structured plan—but not a minute-by-minute schedule
You’re comfortable with moderate activity (walking, short hikes, optional harder hikes like Storm King)
You like having a plan, but you don’t want to feel like you’re following a schedule all day.
This is probably not the best fit if:
You want a very slow-paced, single-region trip
You prefer fully spontaneous travel with no structure
You’re planning a highly technical or backcountry-focused trip
High-Level Itinerary
Day 1 - Mountains + Lakes
Start near Lake Crescent and build your day from there—this is where you’ll hit your first major stops and decide how much you want to take on.
💡 This is your longest day, and it’s easy to overdo it if you’re not intentional about what you include.
👉🏻 The order of stops matters more than it seems—this is where most people accidentally add extra driving or run out of time for the things that are actually worth it.
Day 2 - Coast
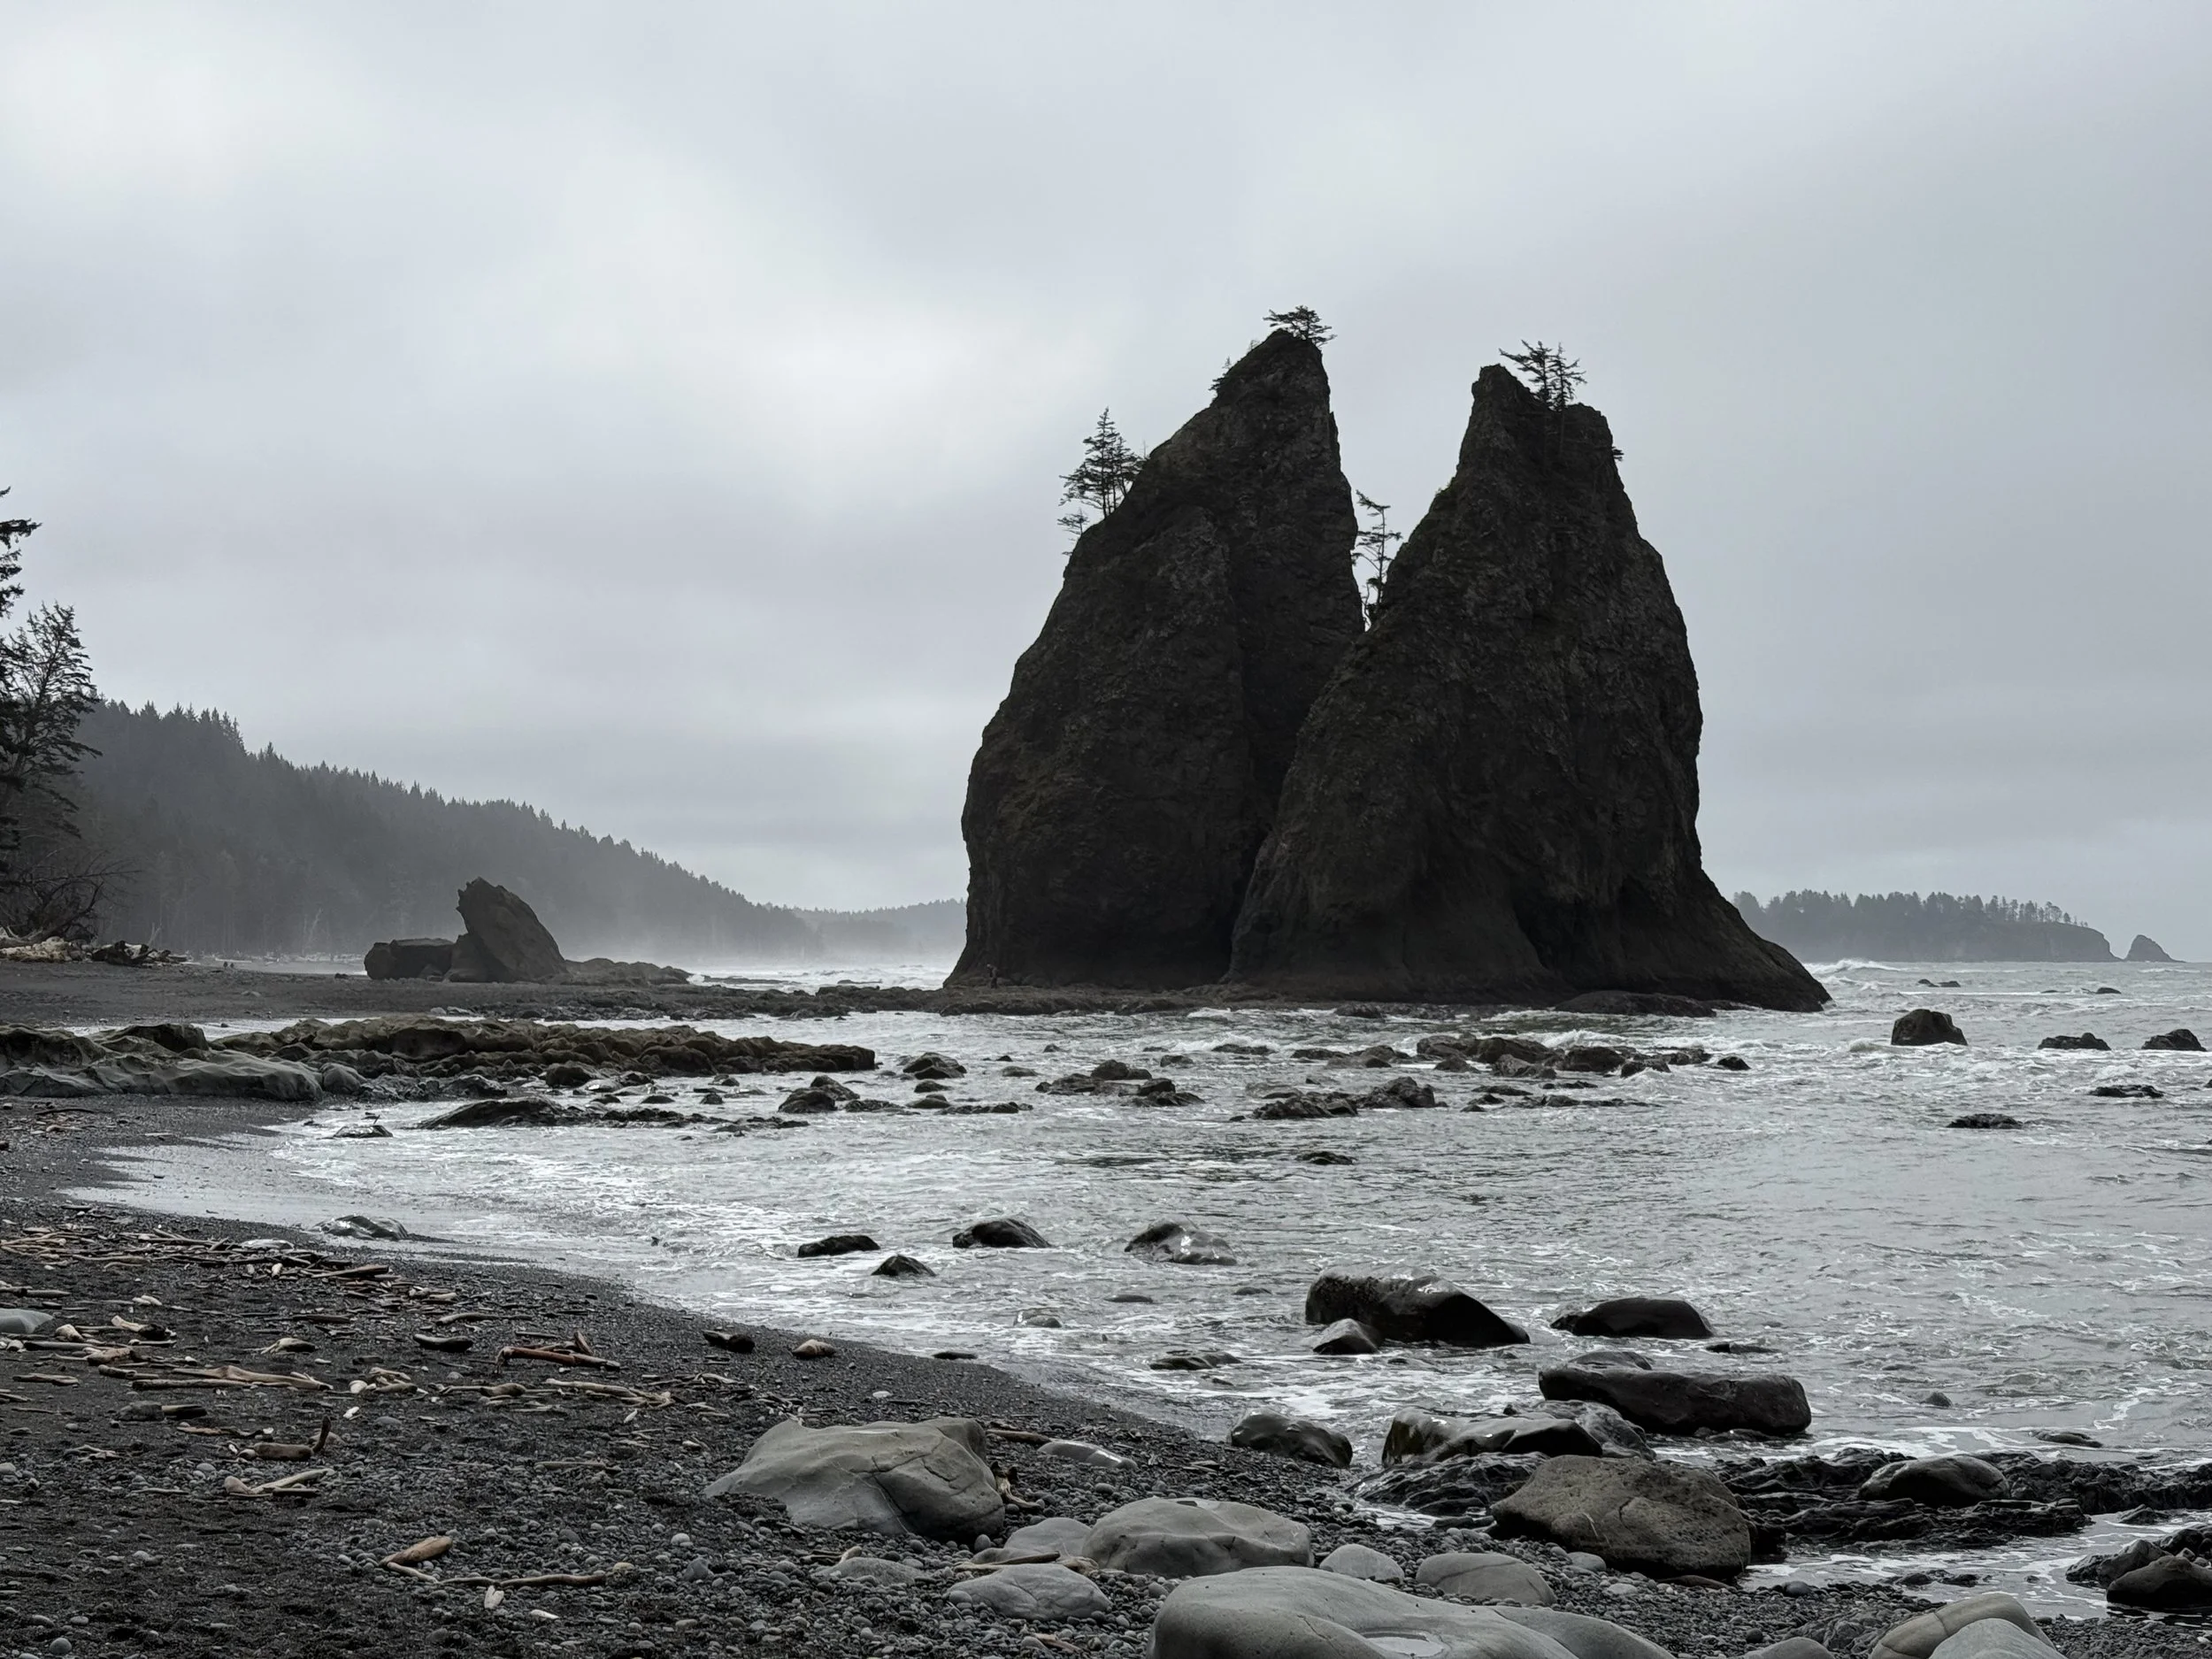
This day is all about the coastline—dramatic views, tidepools, and flexible exploration.
Rialto Beach
A quieter, more rugged starting point.
⚠️ From the parking lot to the main sea stakes is over a mile on soft or pebbly sand—it takes longer and is more tiring than expected (and you’ll have to walk back).
👉🏻 The full itinerary helps you plan around this so you don’t underestimate the time and effort it takes.
Ruby Beach
One of the most iconic stops—worth seeing, but expect crowds.
💡 Better as a shorter stop rather than a long one.
Kalaloch Beaches
Best for tidepooling and slower exploration.
👉🏻 Check tide tables in advance—this makes a huge difference in what you’ll actually see.
👉🏻 The full itinerary helps you plan this around tide timing
🌲 Don’t miss this (easy to overlook): Tree of Life
This is one of those stops that’s easy to miss if you don’t know to look for it.
👉🏻 Included in the full itinerary so you don’t pass it by without realizing.
Day 3 - Rainforest or return
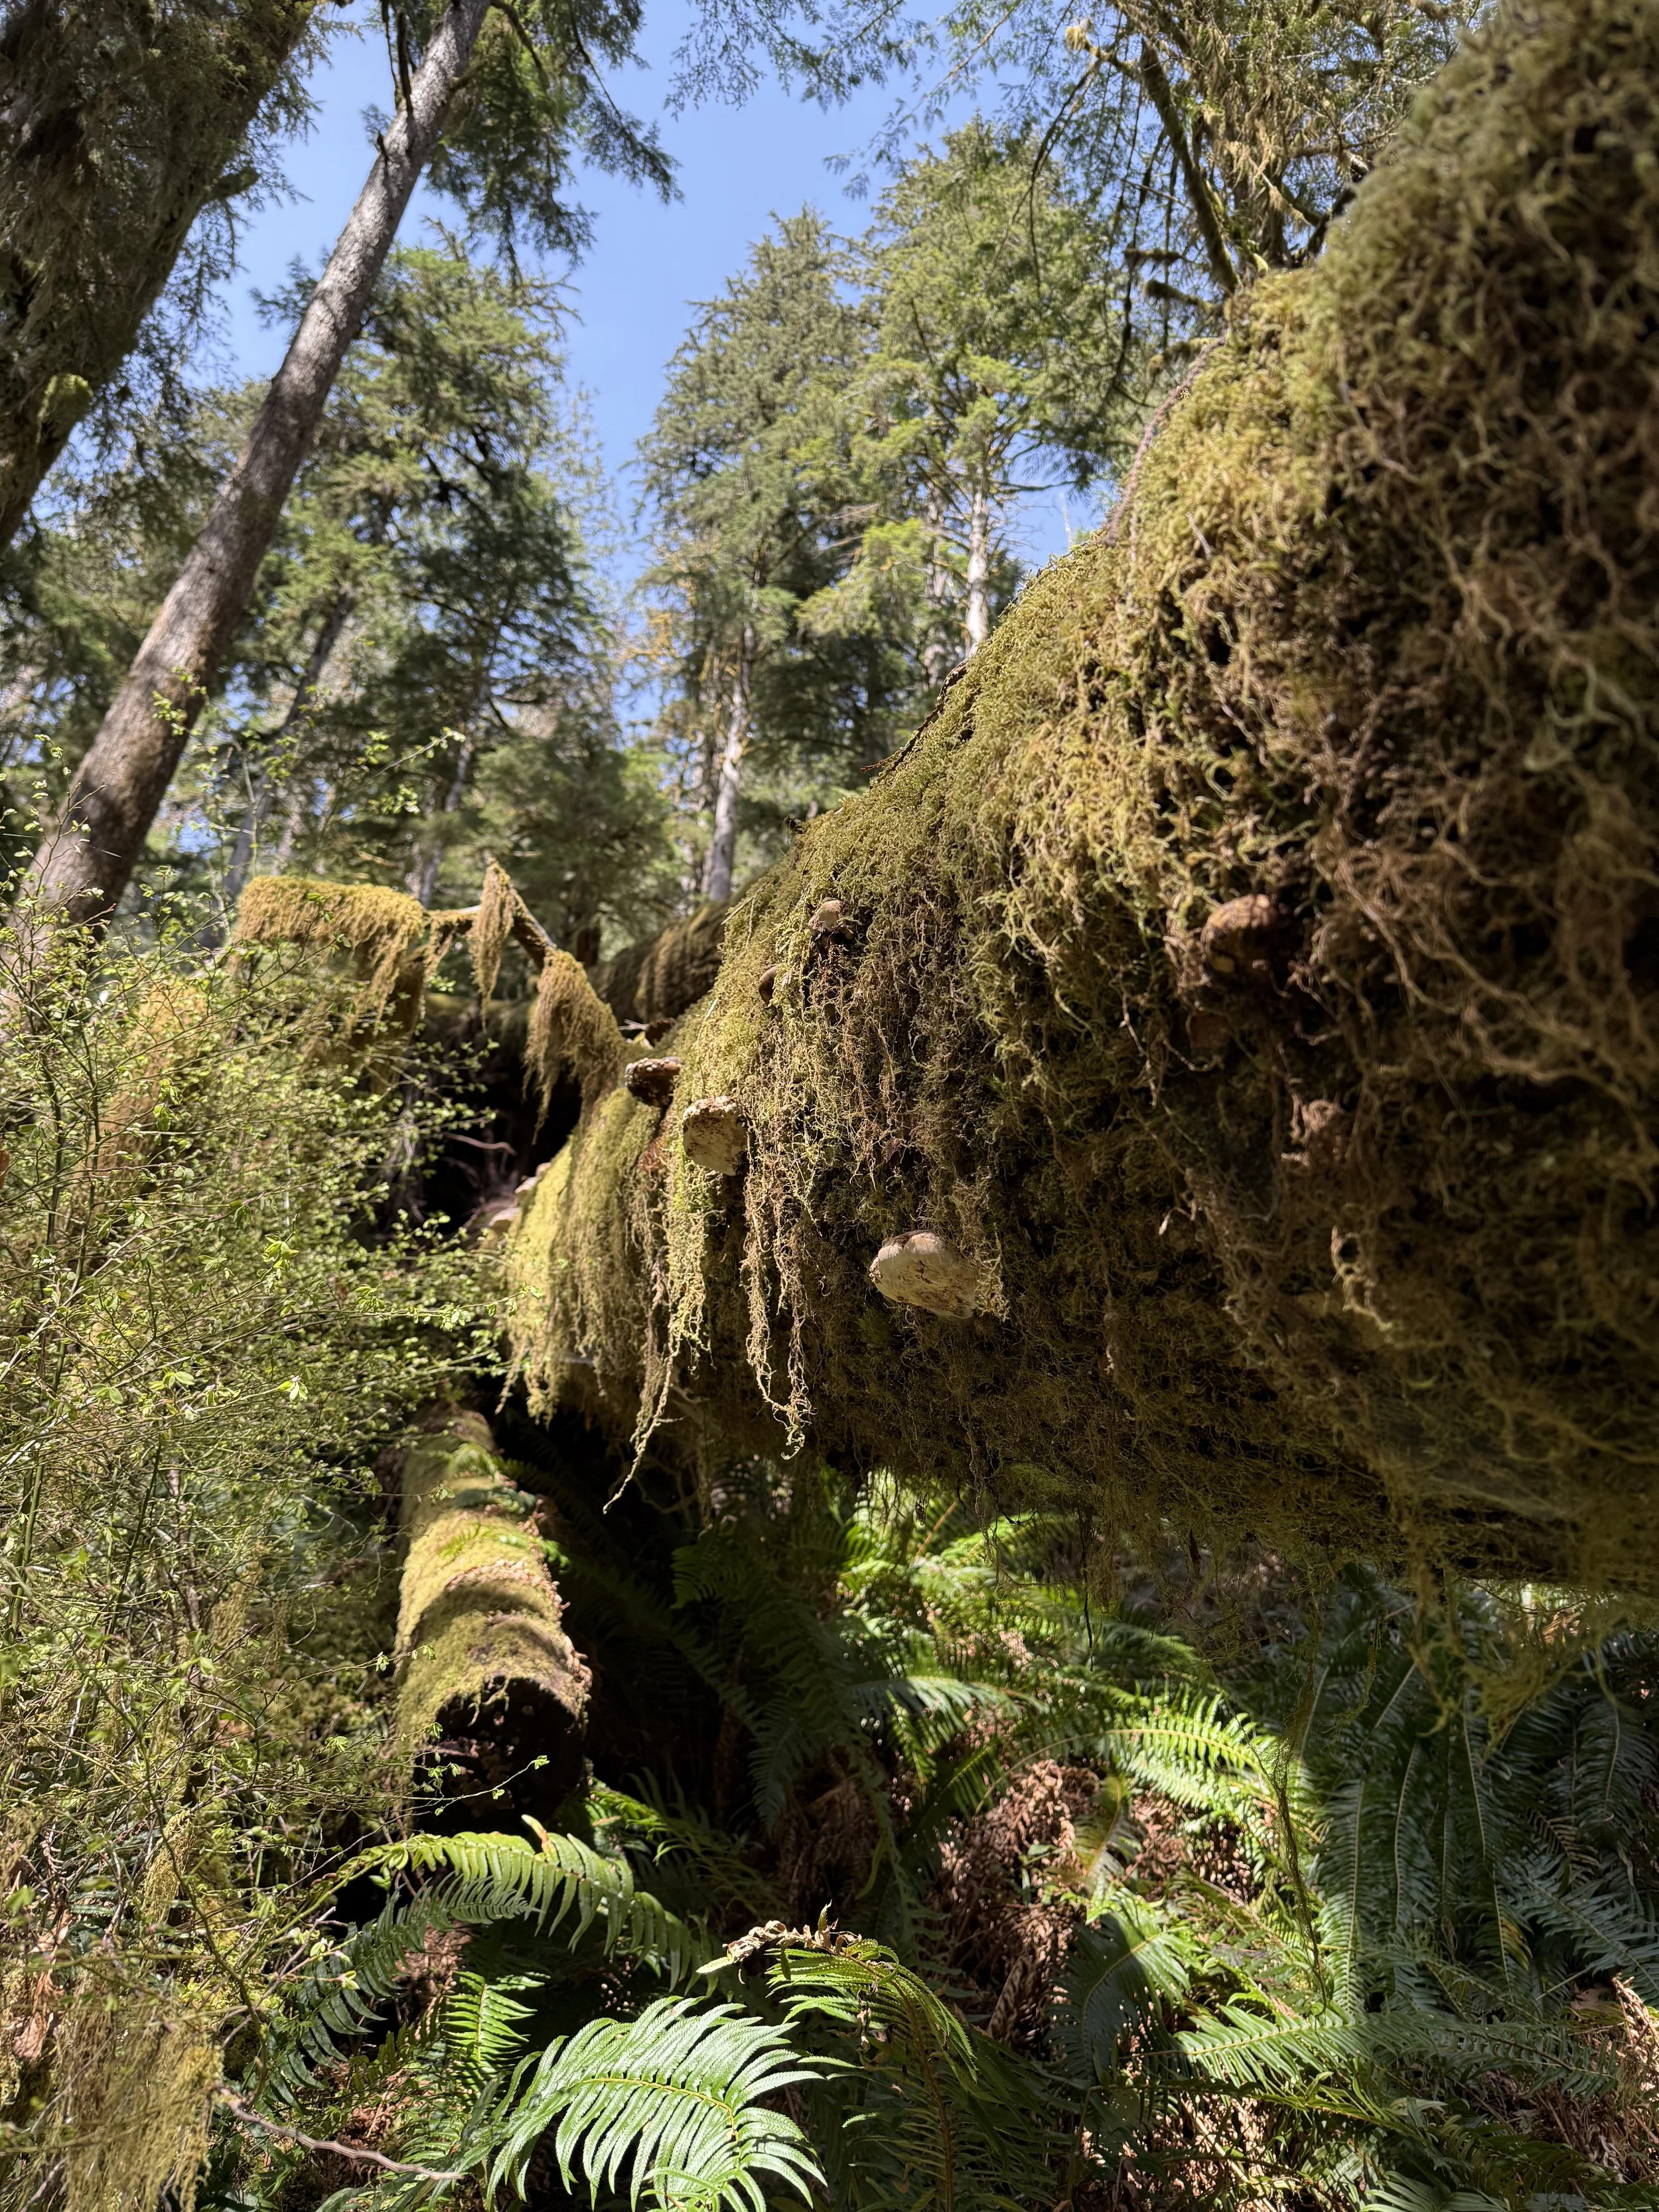
Focus on the Hoh Rainforest and nearby trails like the Hall of Mosses, but be aware that conditions and access can change.
This is a slower, more immersive day, less about distance and more about the experience. It truly feels like you’ve walking to Jurassic Park at times.
⚠️ During my trip, part of the road to the Hoh Rainforest was washed out due to flooding, which significantly limited access.
We chose not to force it and instead focused on the Lake Crescent area, which still gave us a great forest experience.
👉🏻 The full itinerary includes backup options and how to adjust this day depending on current conditions.
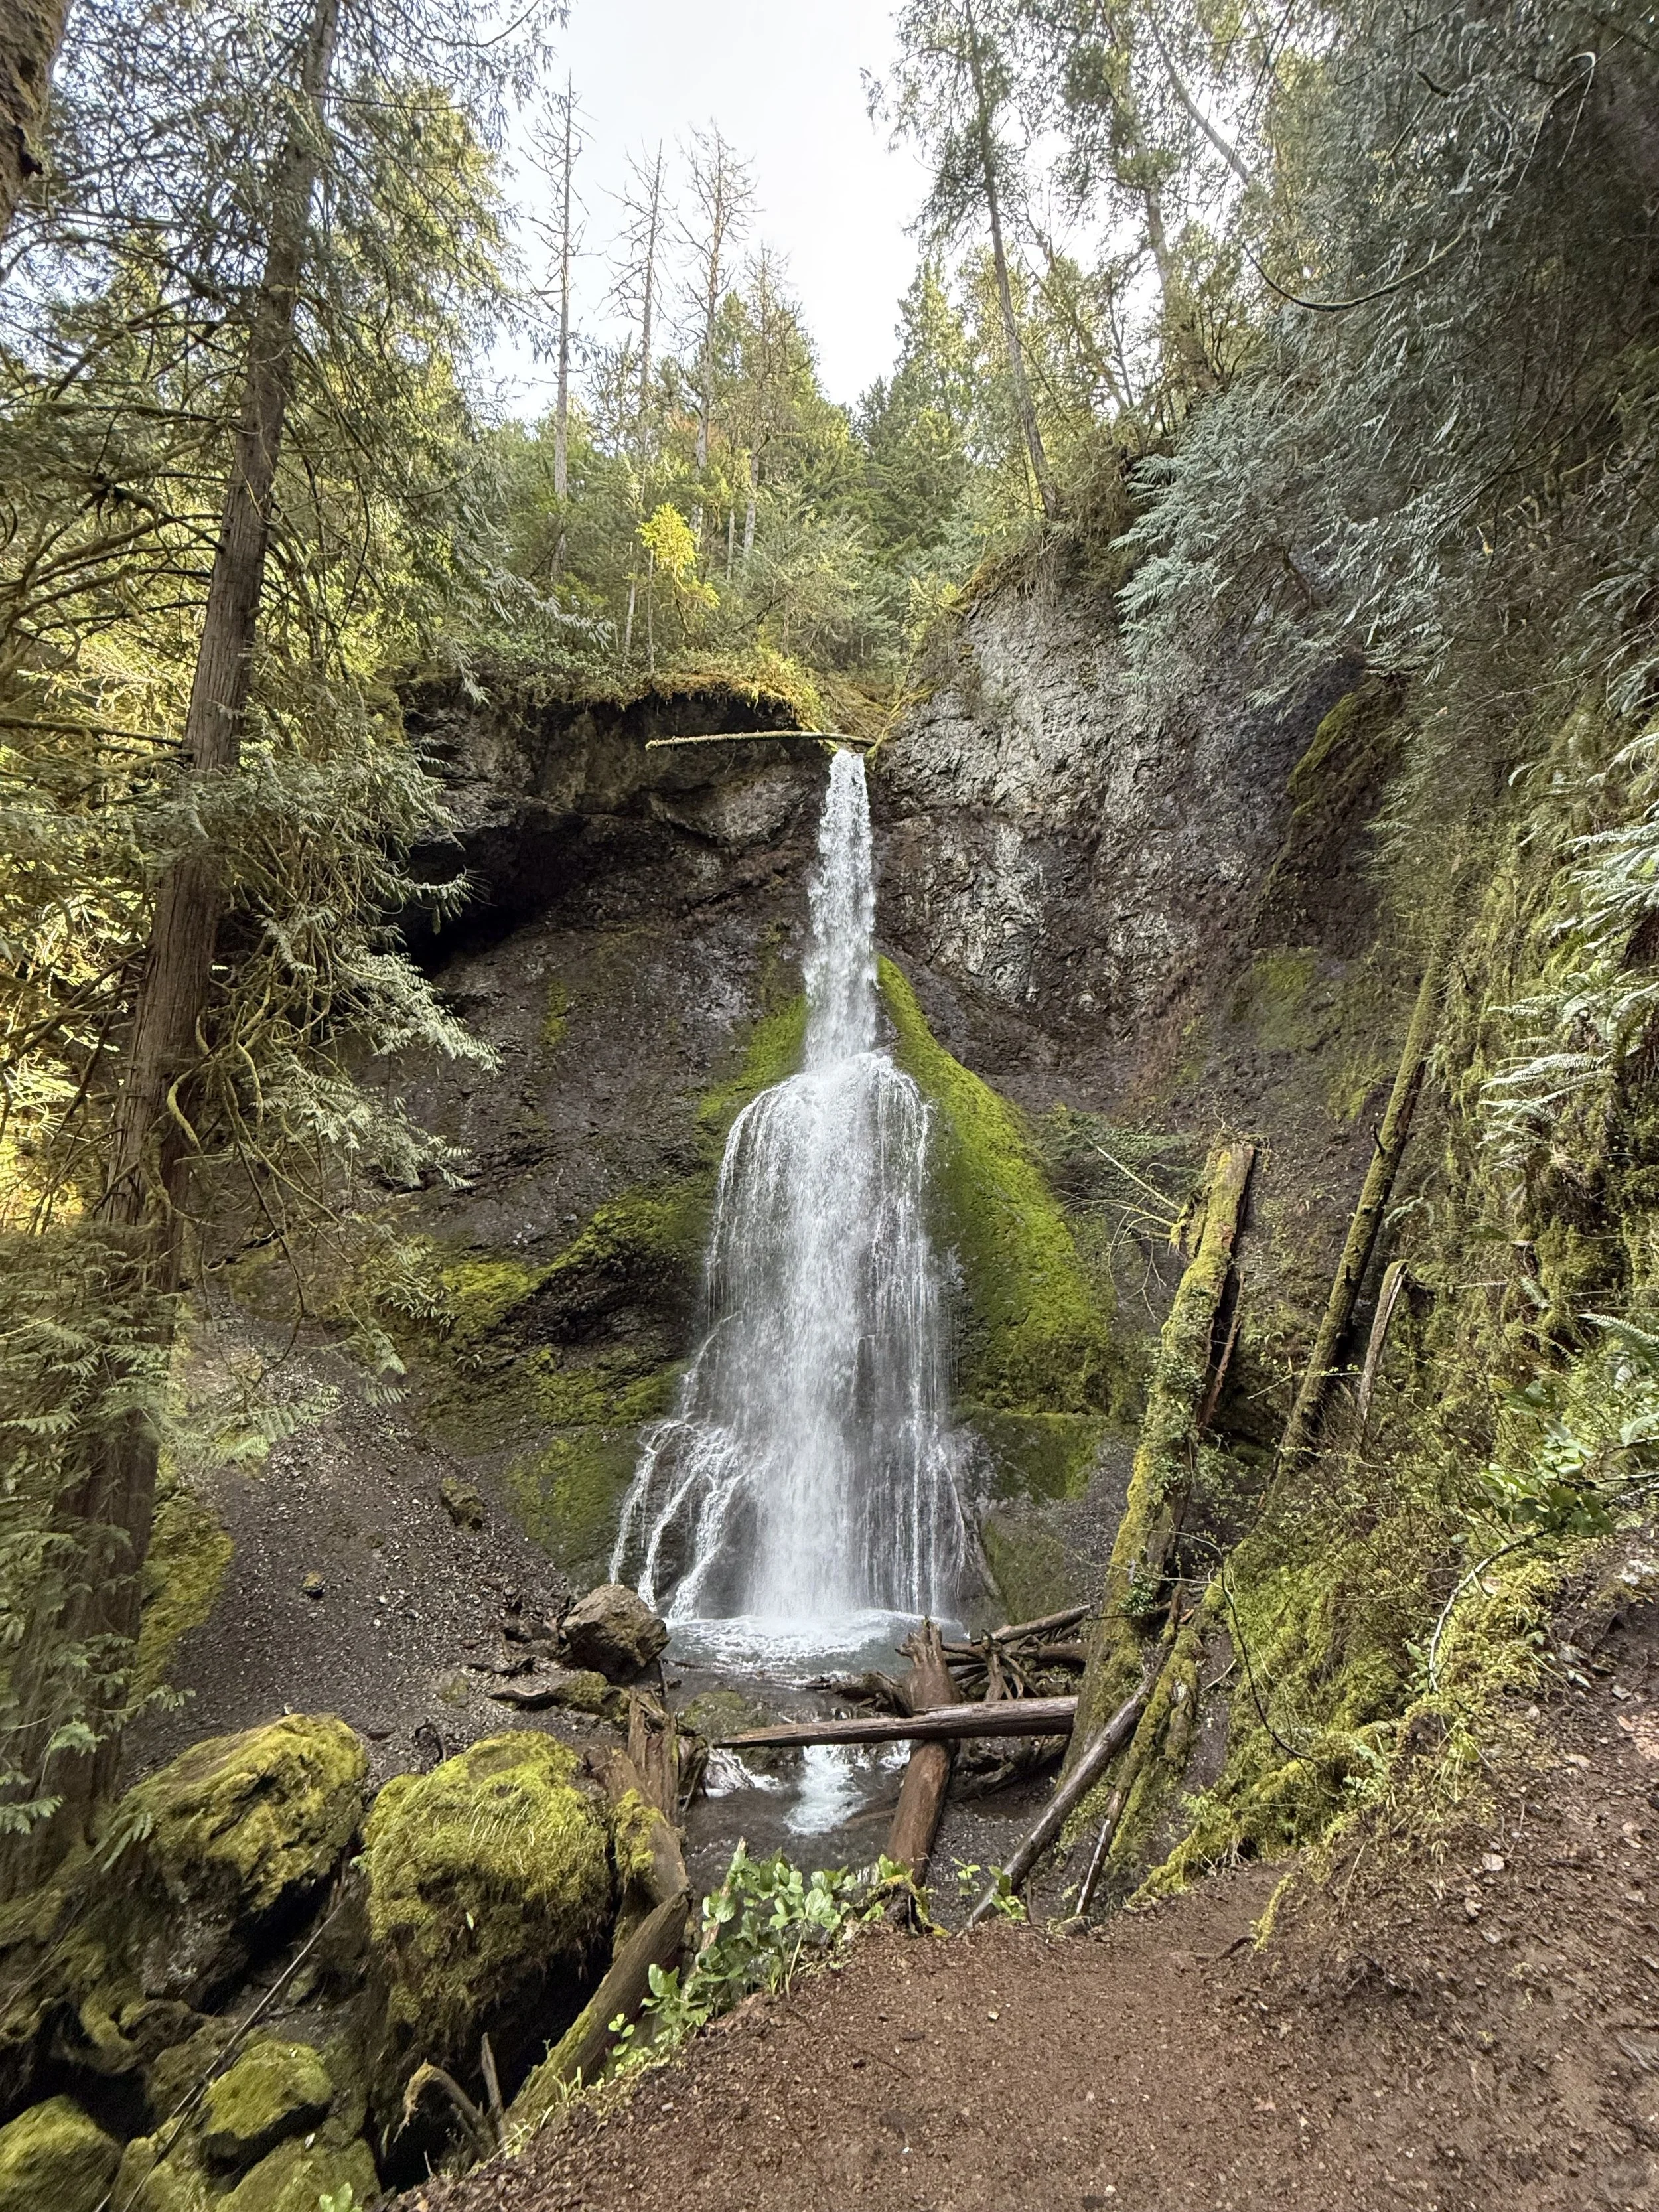
Marymere Falls — quick stop, worth it.
What’s worth it (and what to skip)
Worth prioritizing:
What’s actually worth prioritizing isn’t always obvious—and depends heavily on timing, weather, and how you structure your days.
Lake Crescent area hikes
At least one coastal stop with good conditions
Lower priority:
Trying to see multiple regions in one day
Overloading your schedule with short stops
👉🏻 The full guide breaks down what’s actually worth your time vs what looks good but doesn’t add much.
What to know before you go
Parking fills up faster than expected
Distances take longer than they look on the map
Weather changes quickly—layers matter
Visitor centers are one of your best resources
What I’d change
I’d plan lodging more intentionally based on the region for each day
I’d check conditions earlier and build in clearer backup plans
I would have added a stop at the Tree of Life—it’s easy to miss without planning for it!
👉🏻 The full itinerary incorporates these adjustments so you don’t have to figure them out yourself.
What made this trip special
Some of the best moments weren’t planned, and you can’t fully schedule them.
At one point, we saw a photo at a visitor center and asked a ranger about it—it turns out rainbow trout were making their upstream run at that exact time. It ended up being one of the most memorable parts of the trip.
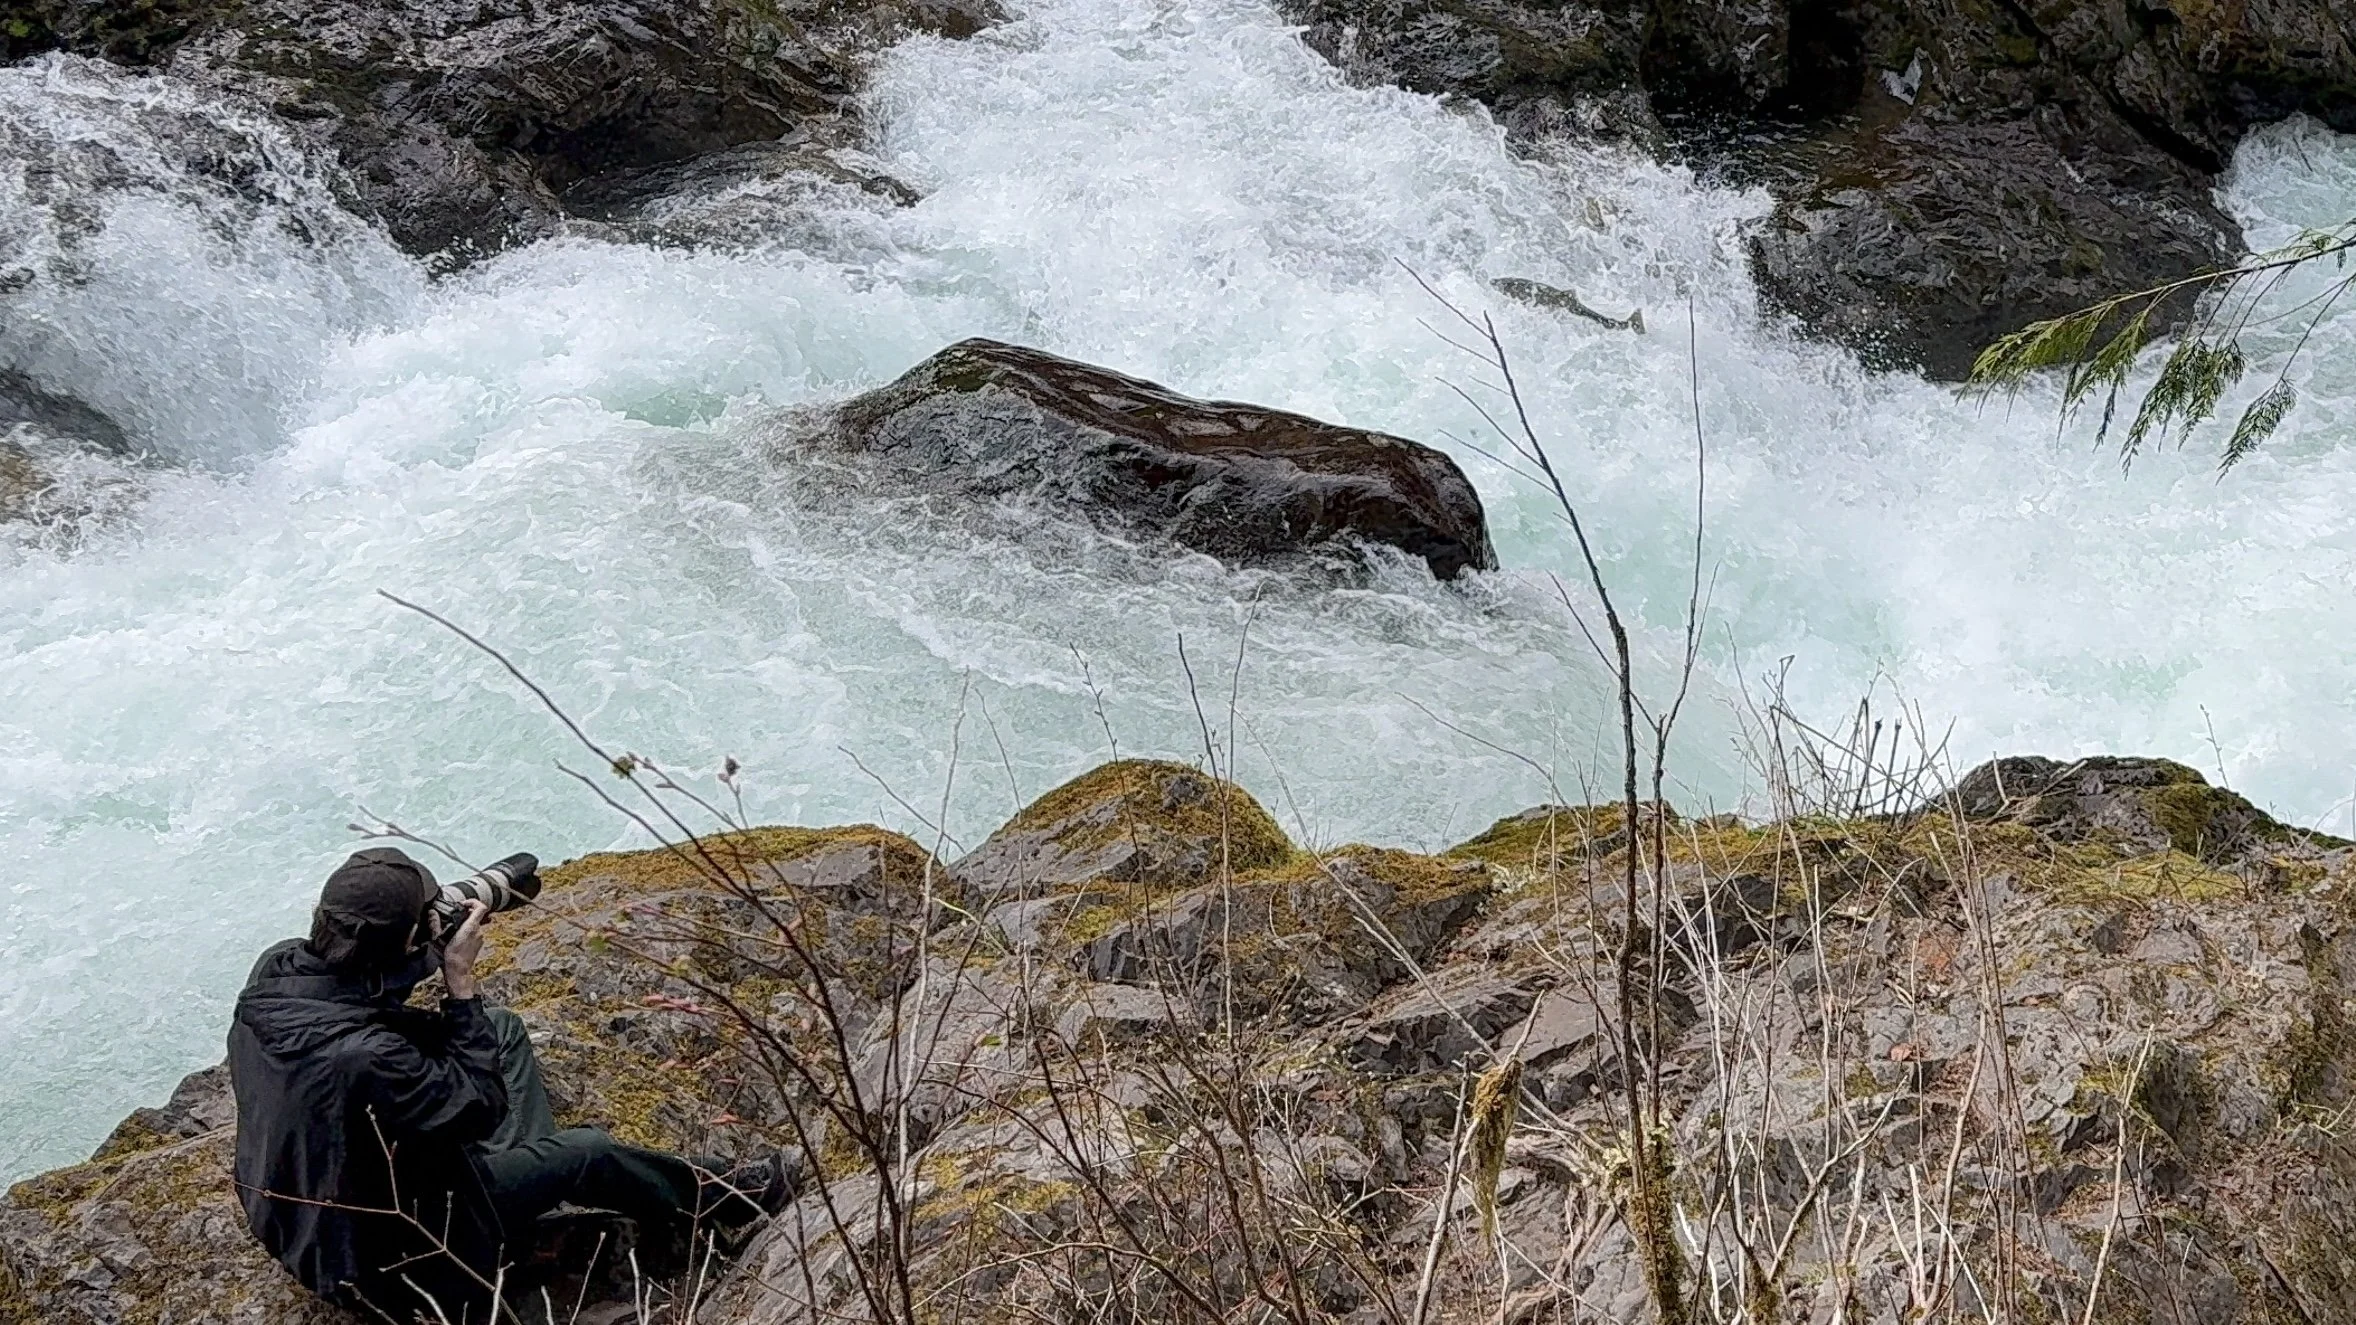
🐟 This is the kind of thing that’s easy to miss if you don’t know how to look for it ahead of time.
👉🏻 The full itinerary highlights stops like this that are easy to miss but worth knowing about in advance.
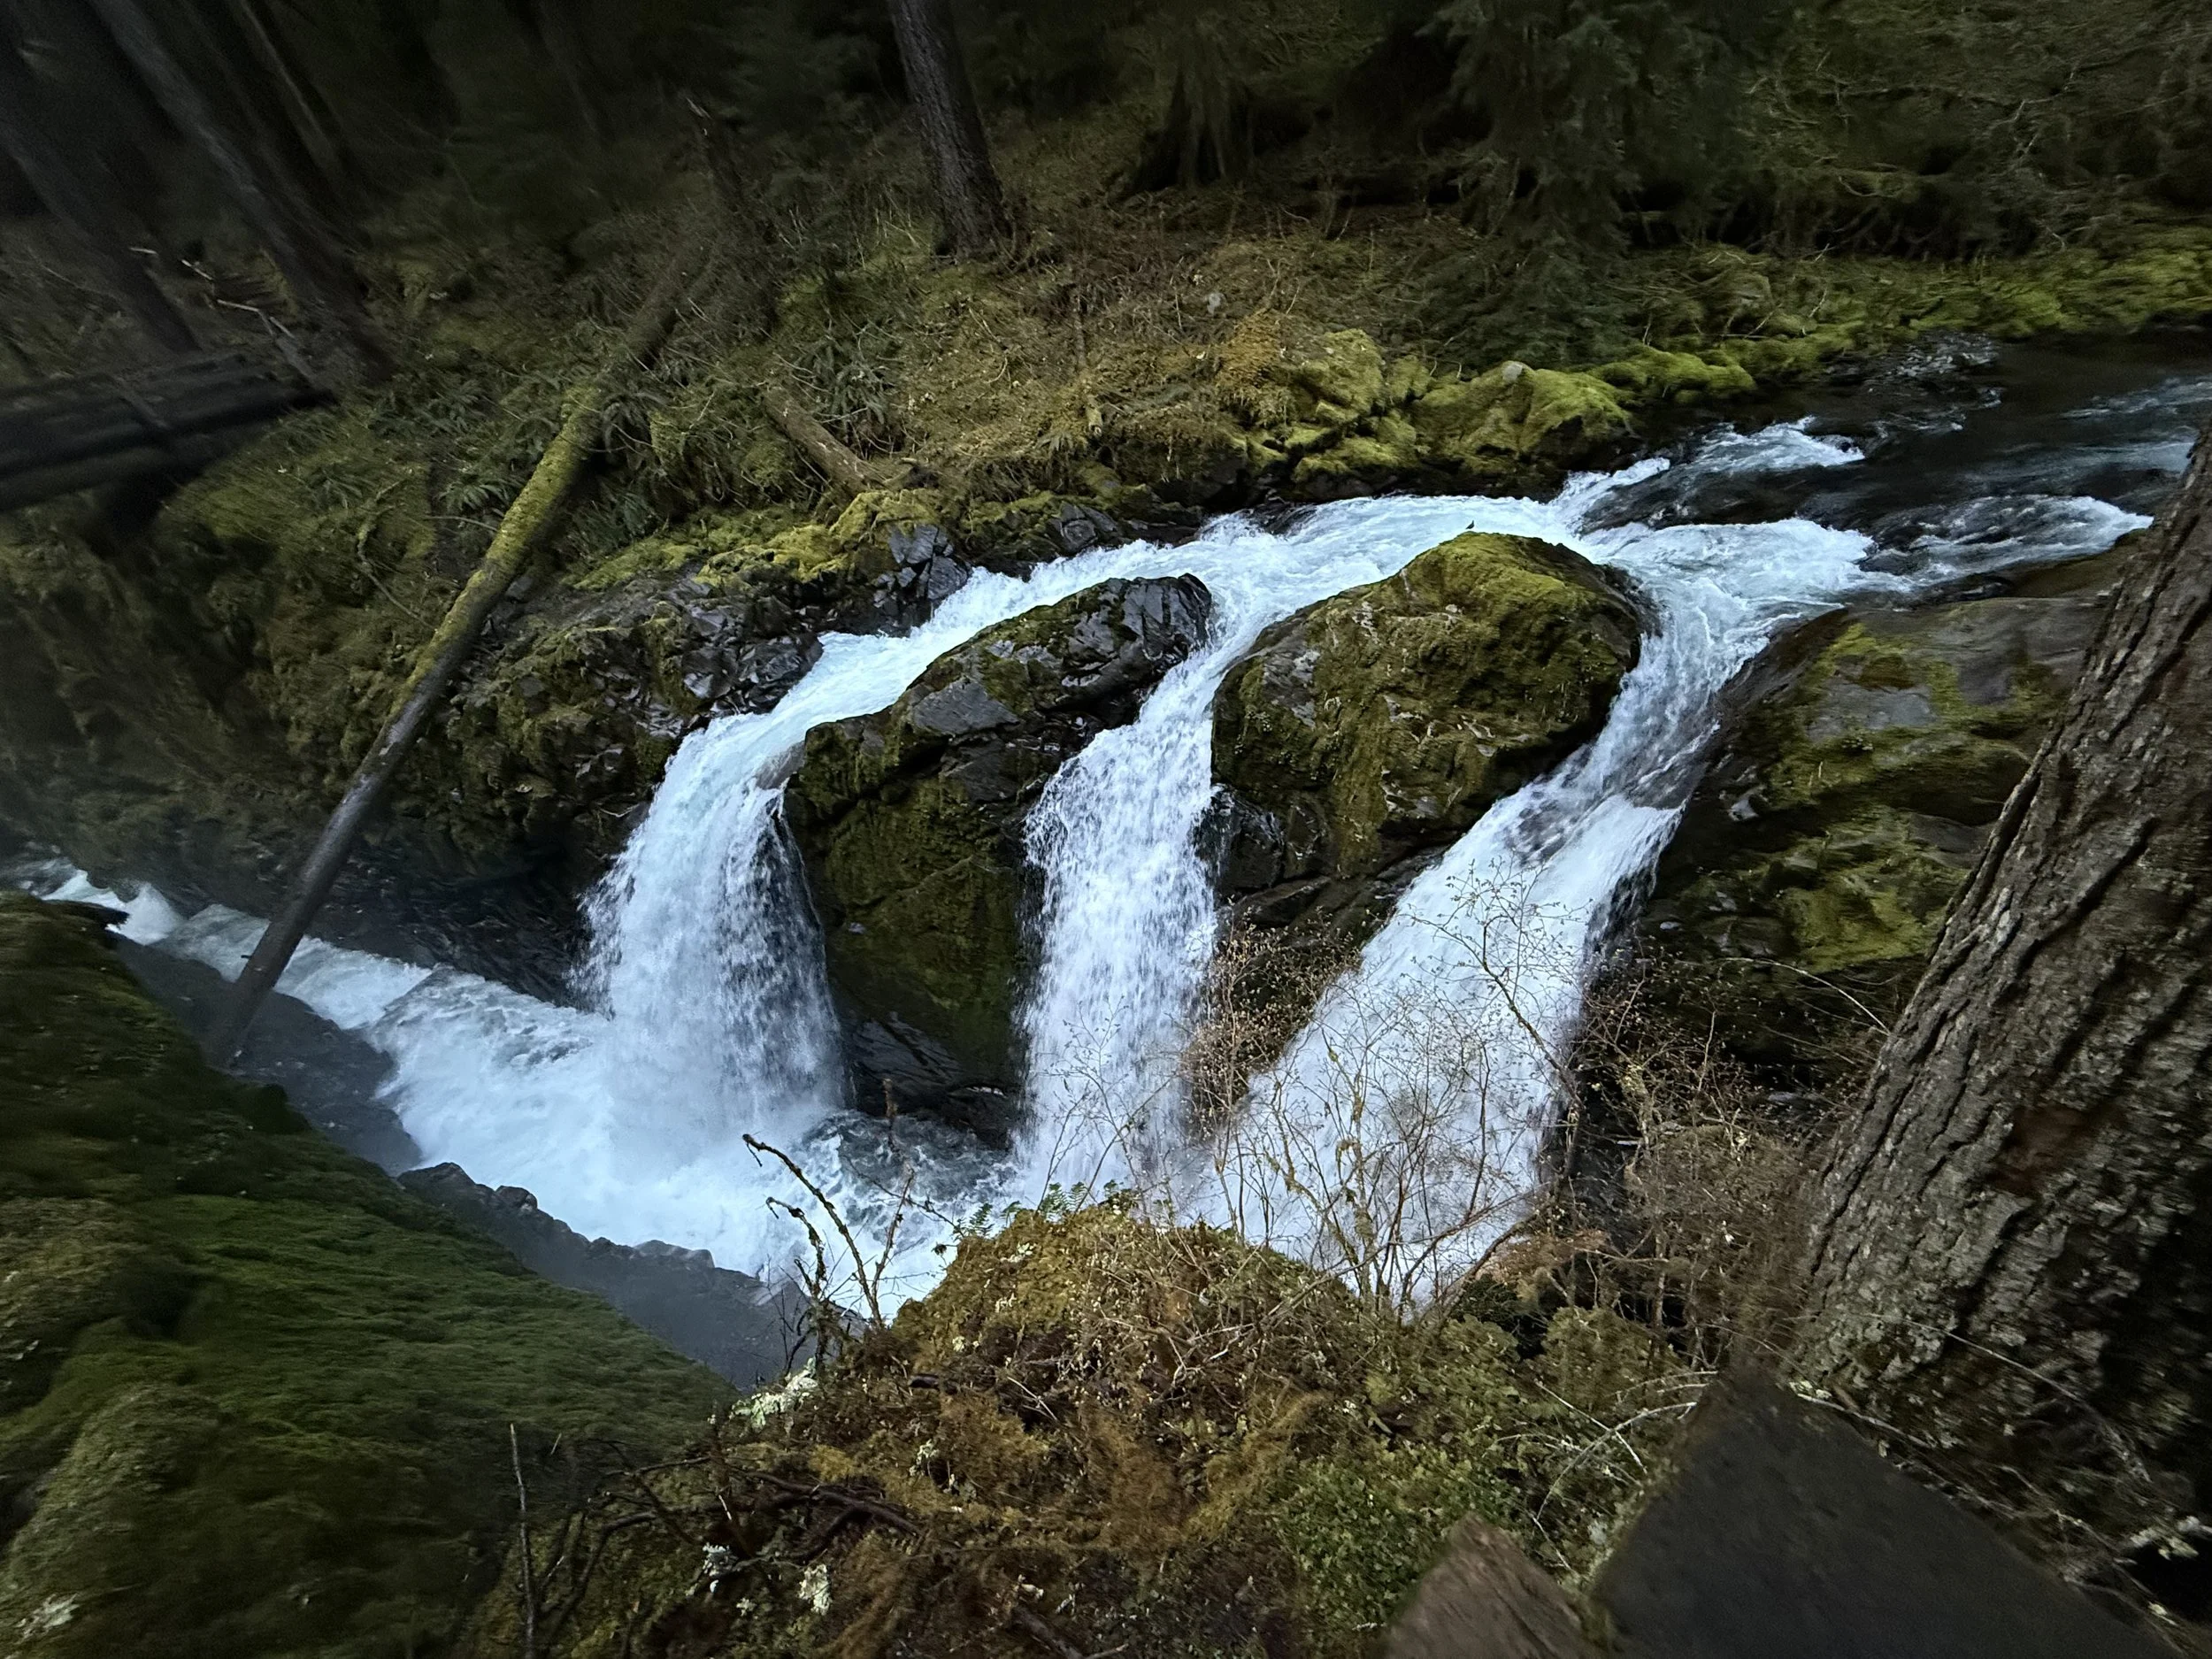
Want the exact plan (without figuring it out yourself)?
The full itinerary includes:
Clear daily structure so you know what to do (and in what order)
A route through the park designed to avoid unnecessary backtracking
Ranger-recommended and easy-to-miss stops
Guidance on what’s worth prioritizing—and what you can skip
Backup options for weather, closures, and changing conditions
👉🏻 Designed so you don’t have to figure it all out on the fly!